Prerequisites
- A Google Cloud Platform account
- A project on Google Cloud Platform (These 2 steps are covered in the Mobile App - Google Maps Integration)
- Install GCloud and run auth command
- Download GCloud https://cloud.google.com/sdk/
- Open a terminal and run the following command
gcloud auth application-default login --project=YOUR_PROJECT_IDCreate a bucket
- Go to Google Cloud Platform on https://console.cloud.google.com/
- Click on console.
- Select the project you want to use.
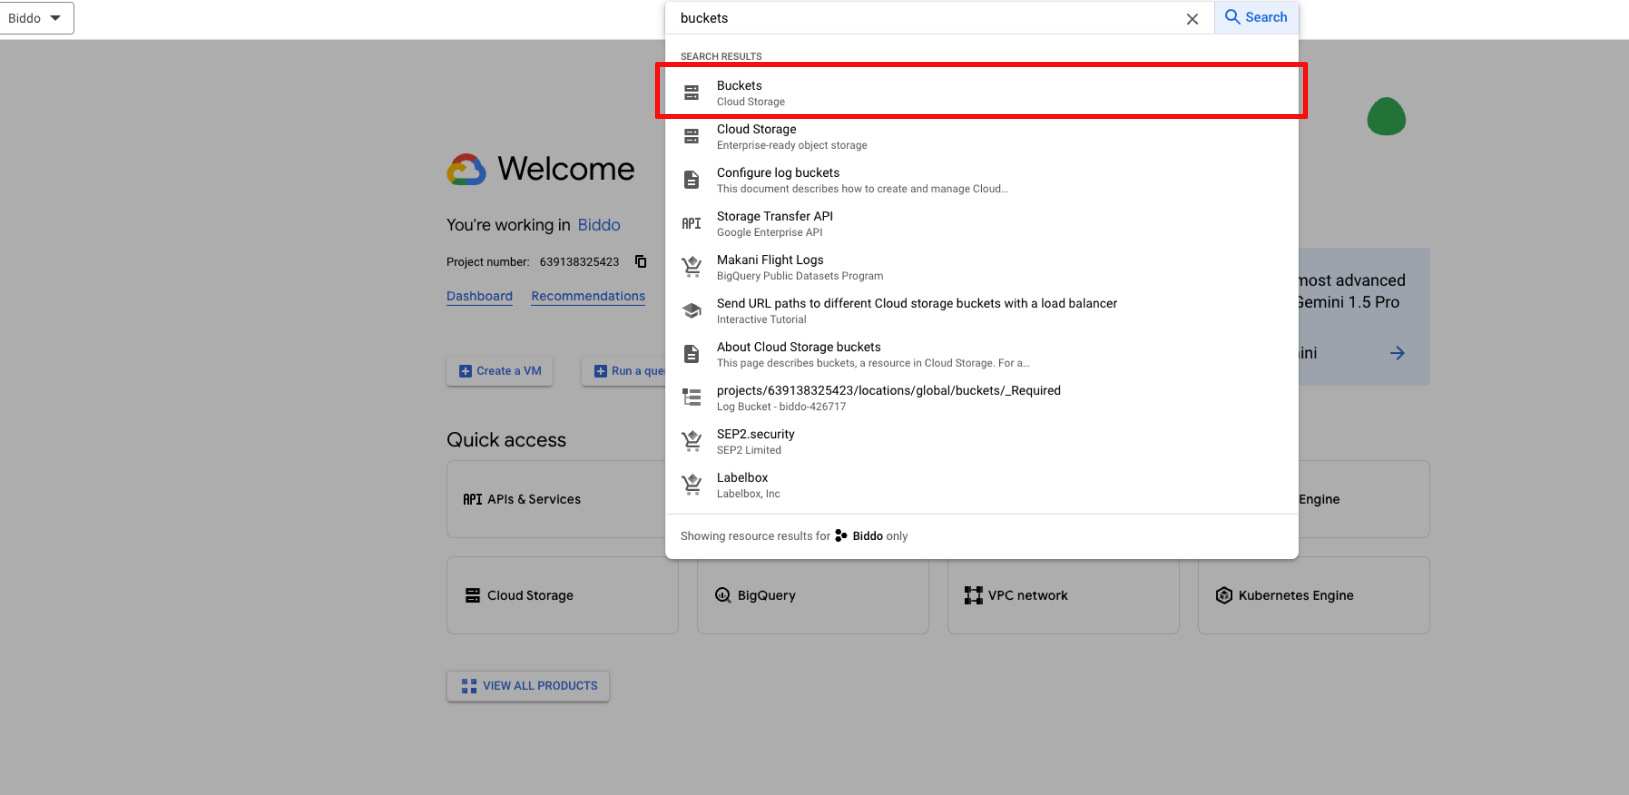
- In the searchbar, search for “Buckets” and click on “Buckets”.
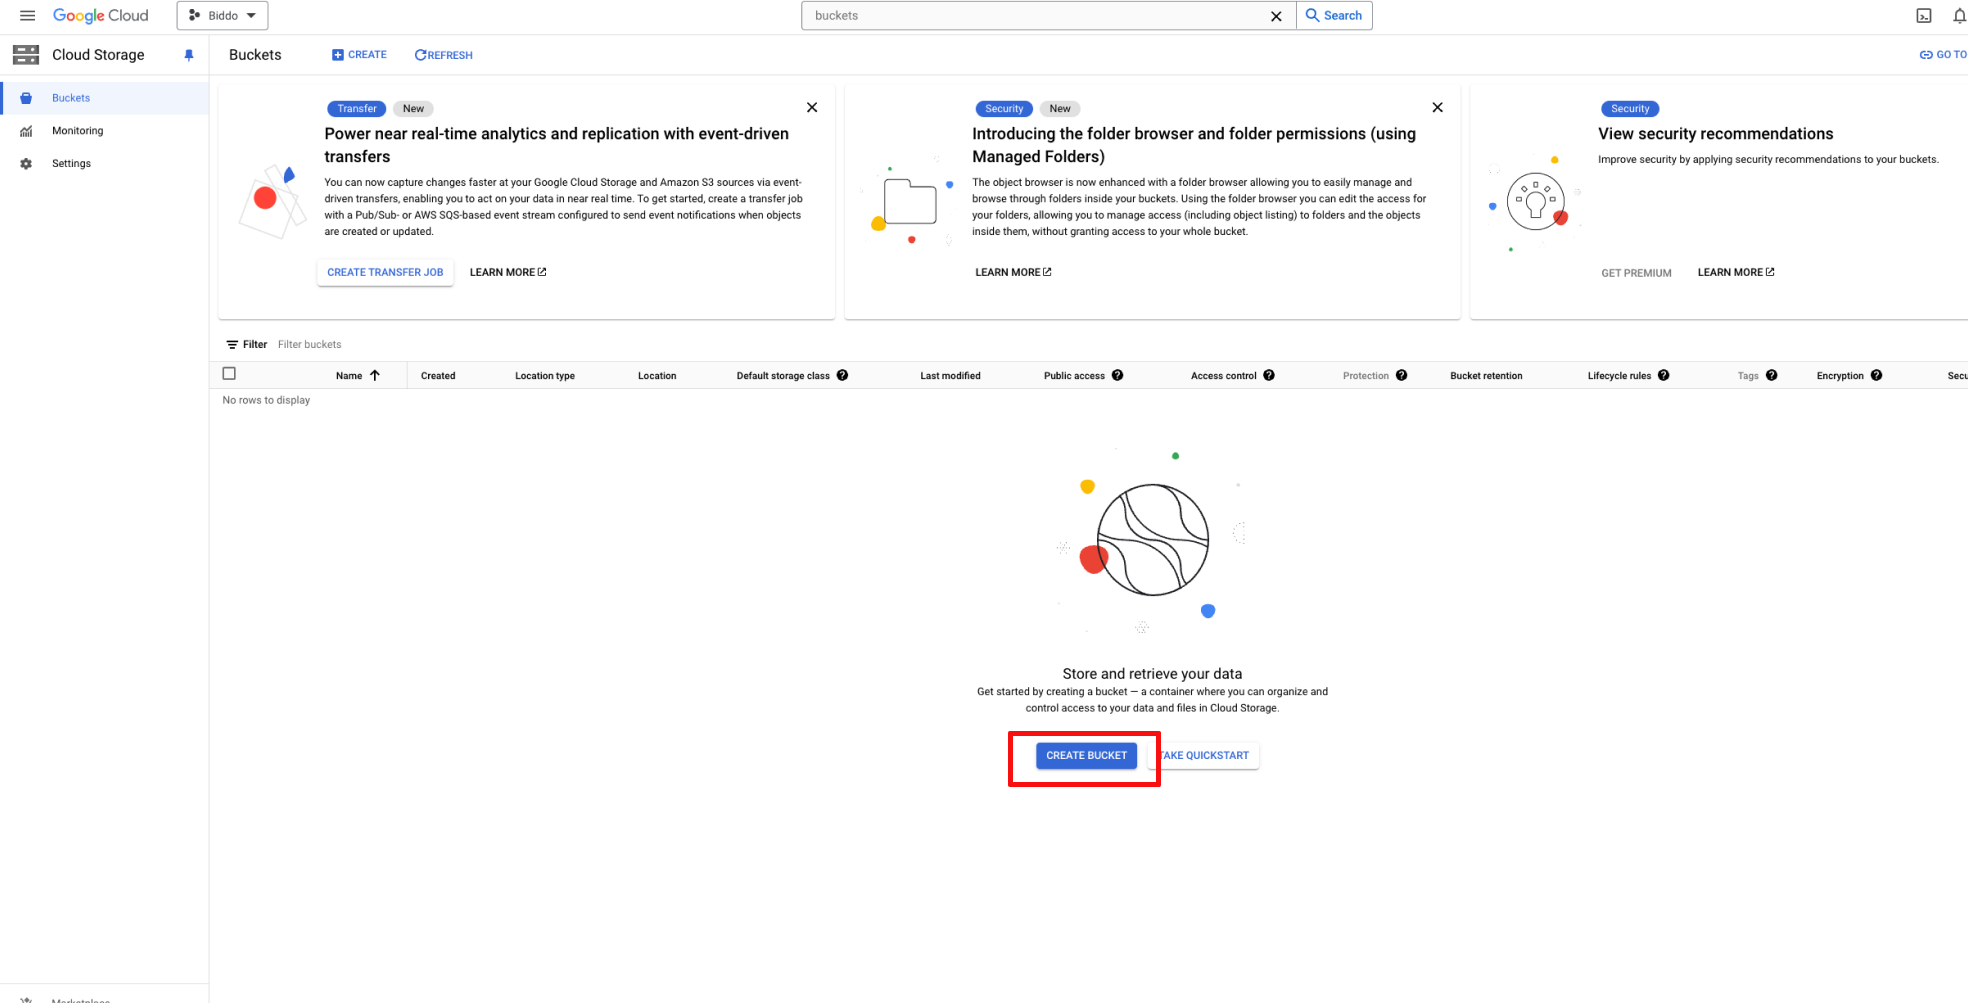
- Click on “Create Bucket”.
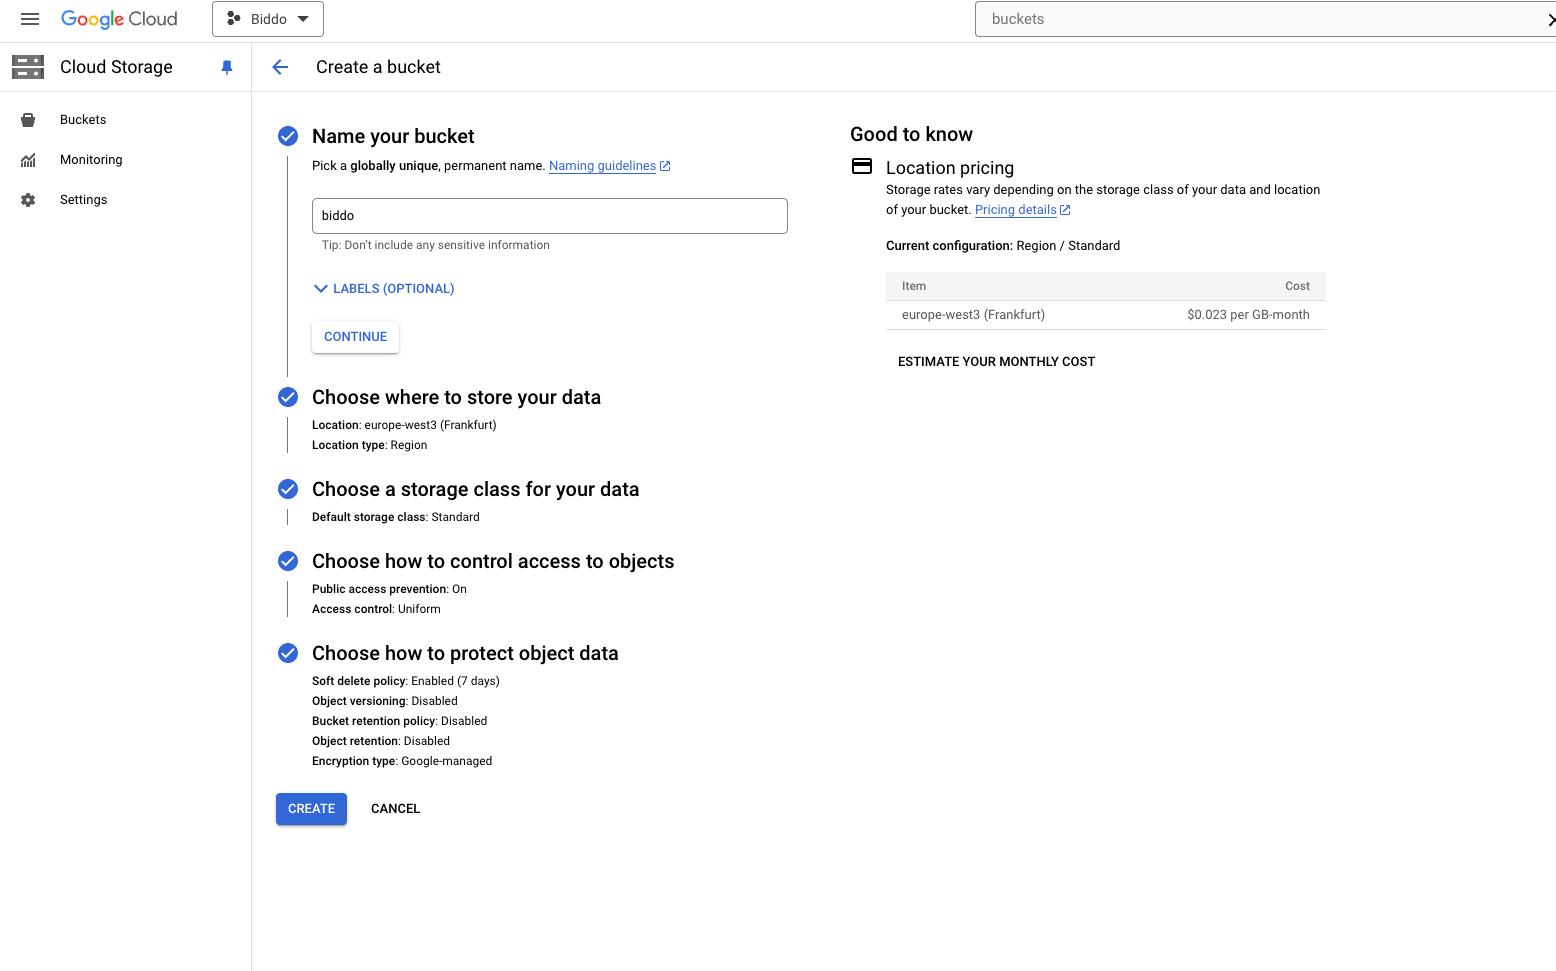
- Add a new name and other required data for your bucket and click on “Create”. (Make sure you select a region that is close to your server’s location)
- You should see a screen similar to this one
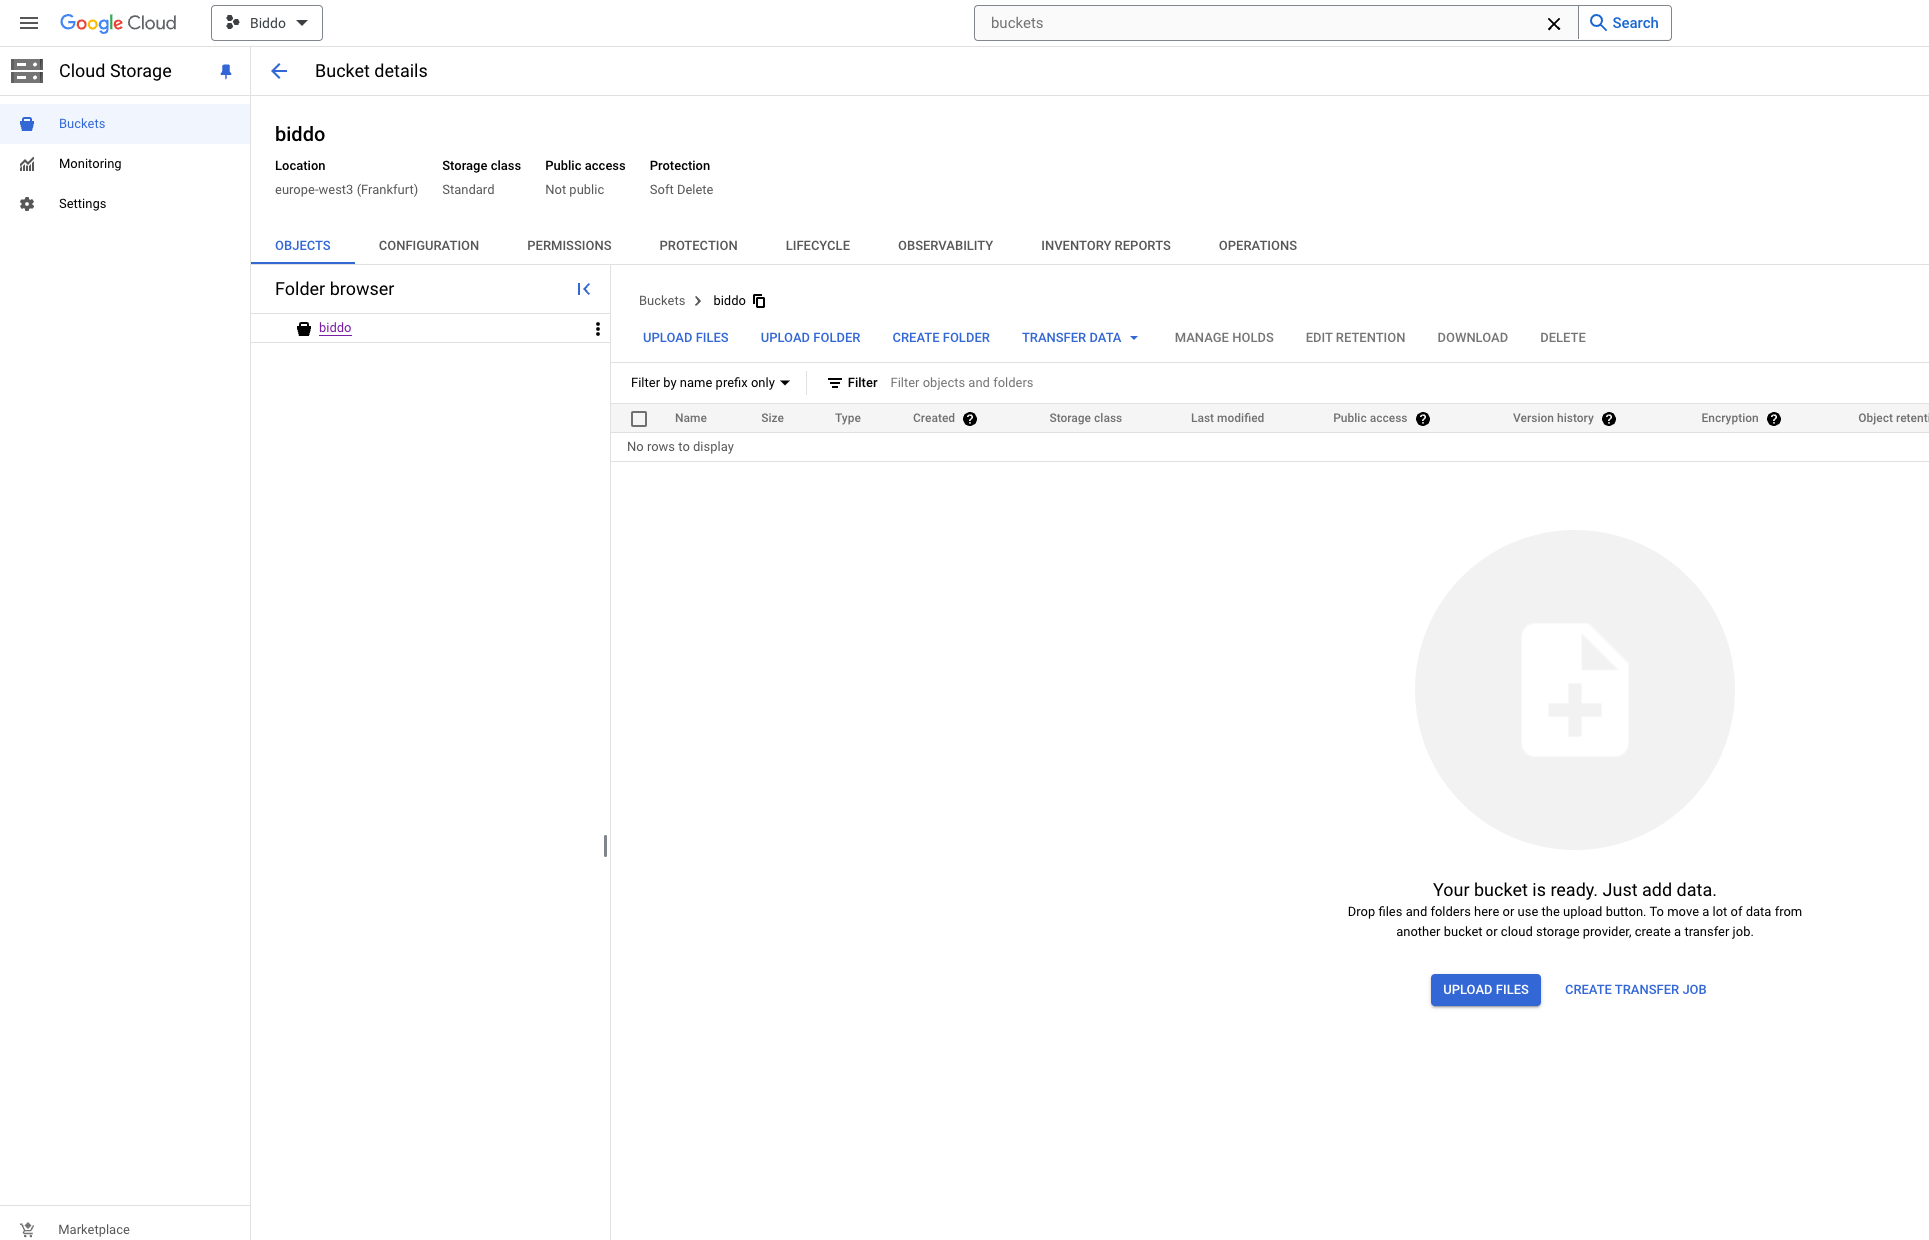
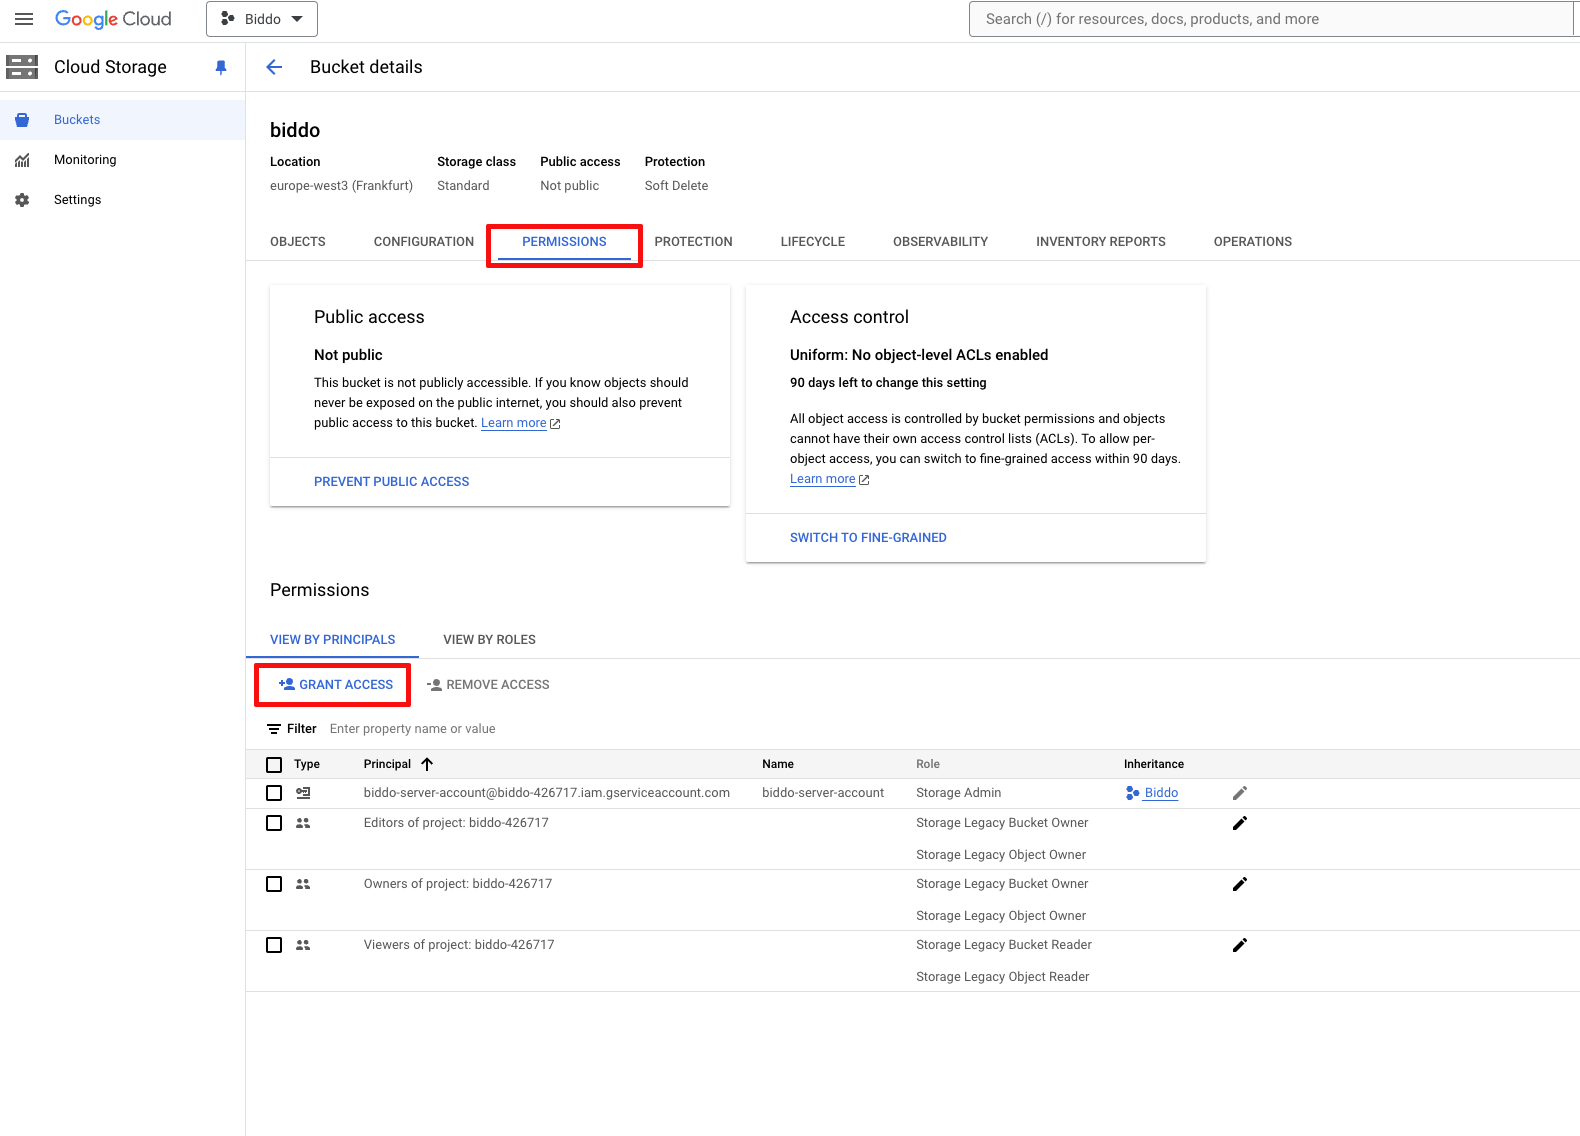
- Go to the PERMISSIONS tab and allow anyone to view the files from the bucket
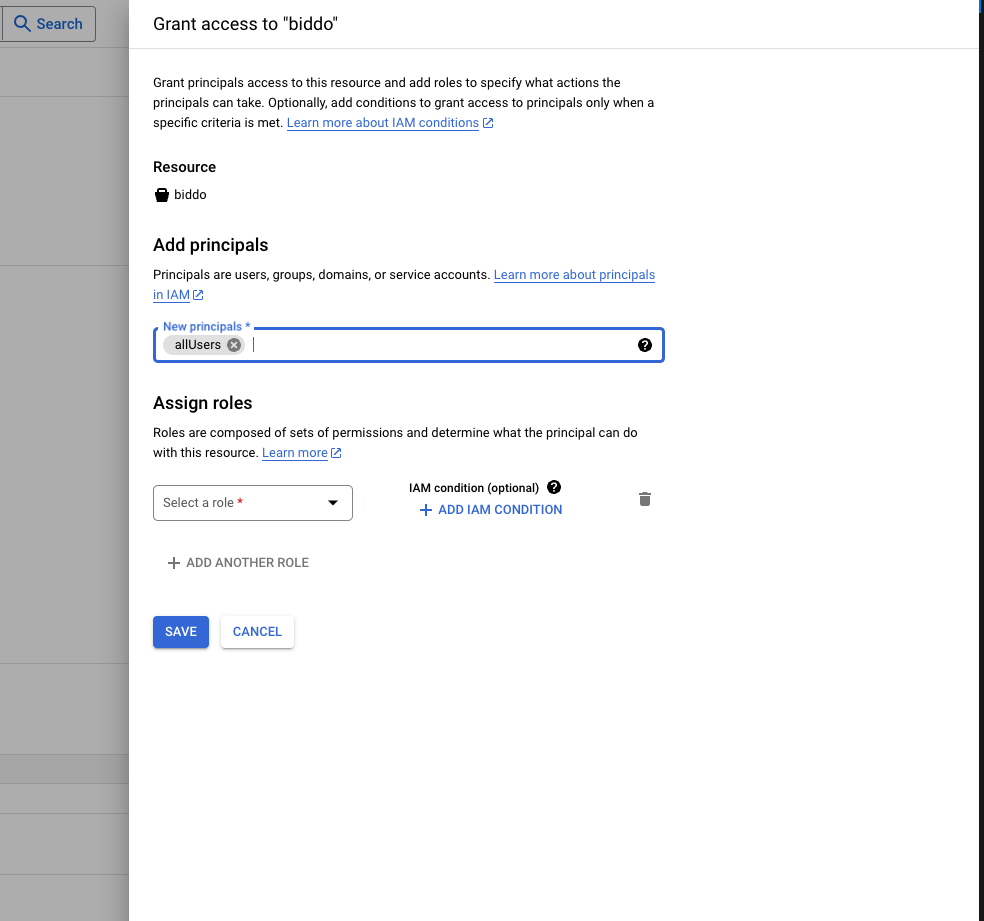
- Click on
GRANT ACCESS - Add
allUsersas new principal - Add
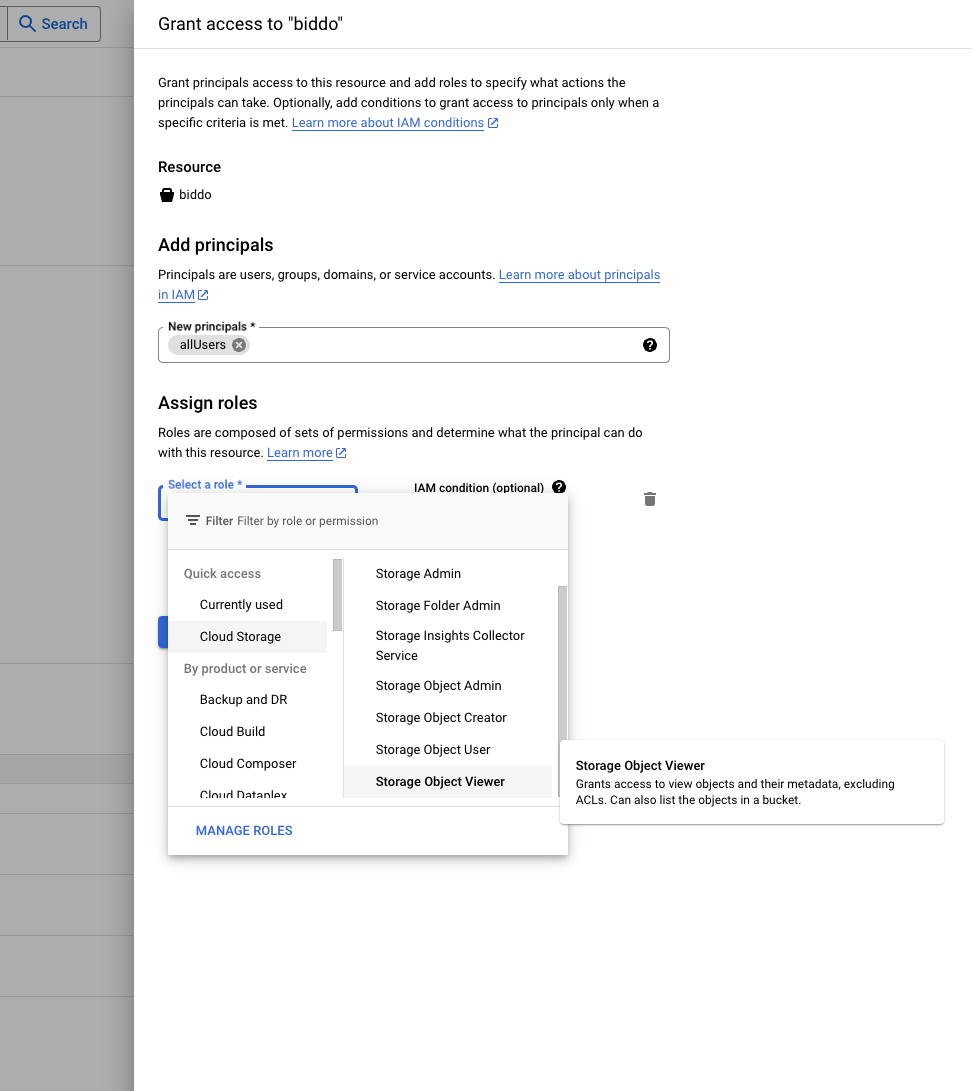
Storage Object Vieweras role
The bucket is now created and anyone can see the images uploaded there. Let’s see how we can upload and delete files from the bucket.
Create a service account
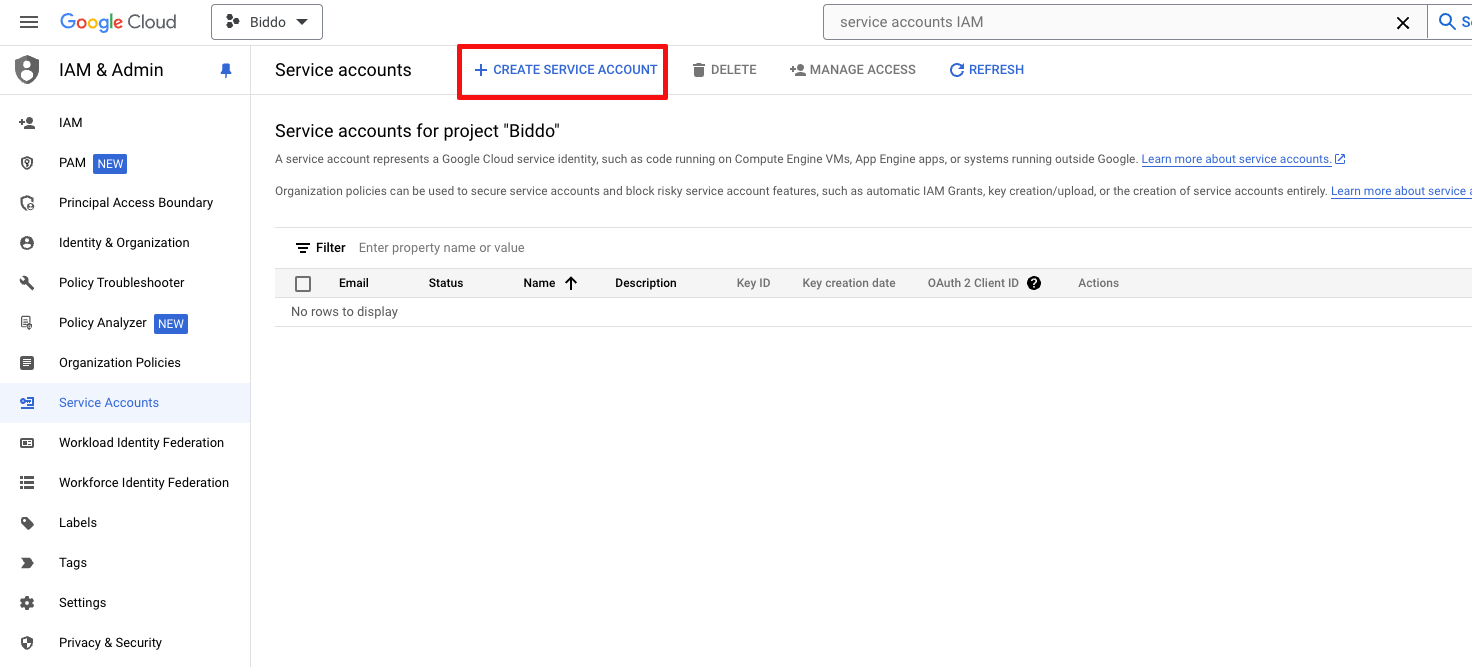
- In the Google Console platform, search for Service Accounts IAM
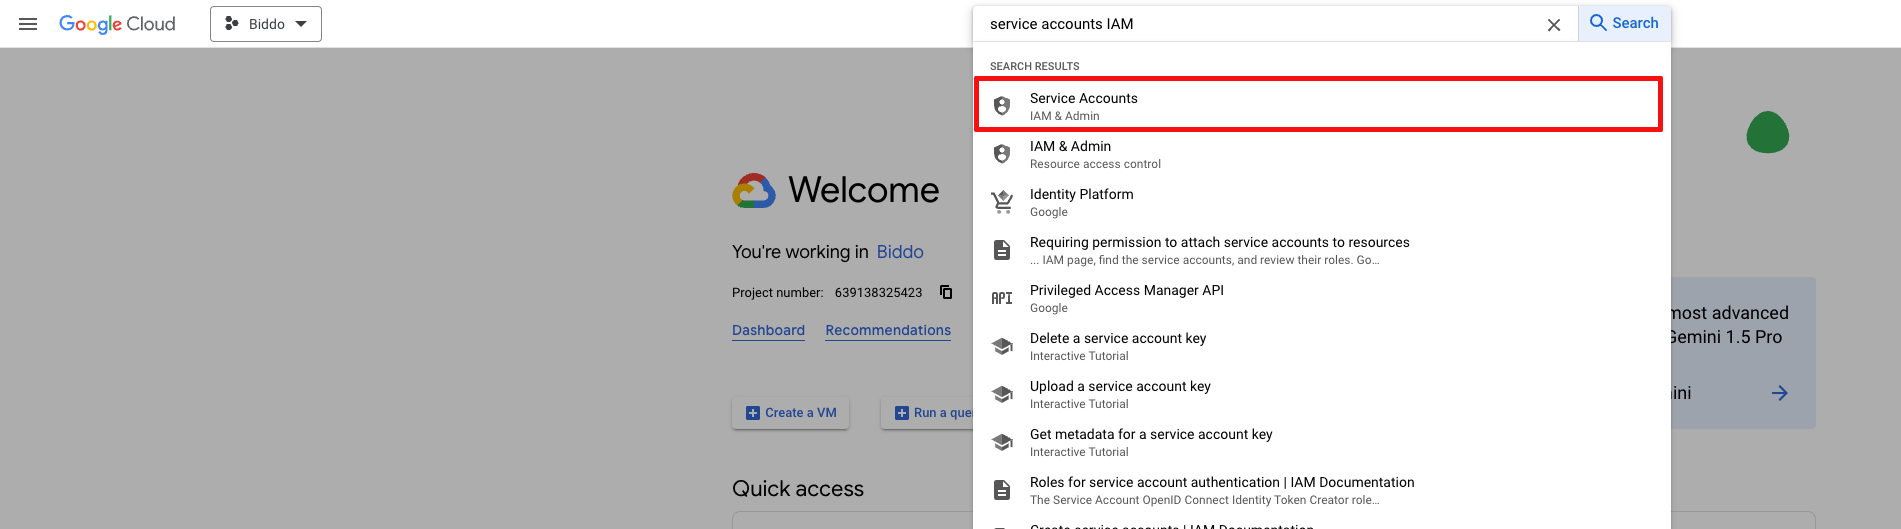
- Click on the “Create Service Account” button
- Add a name and description for your service account and click on “Continue”
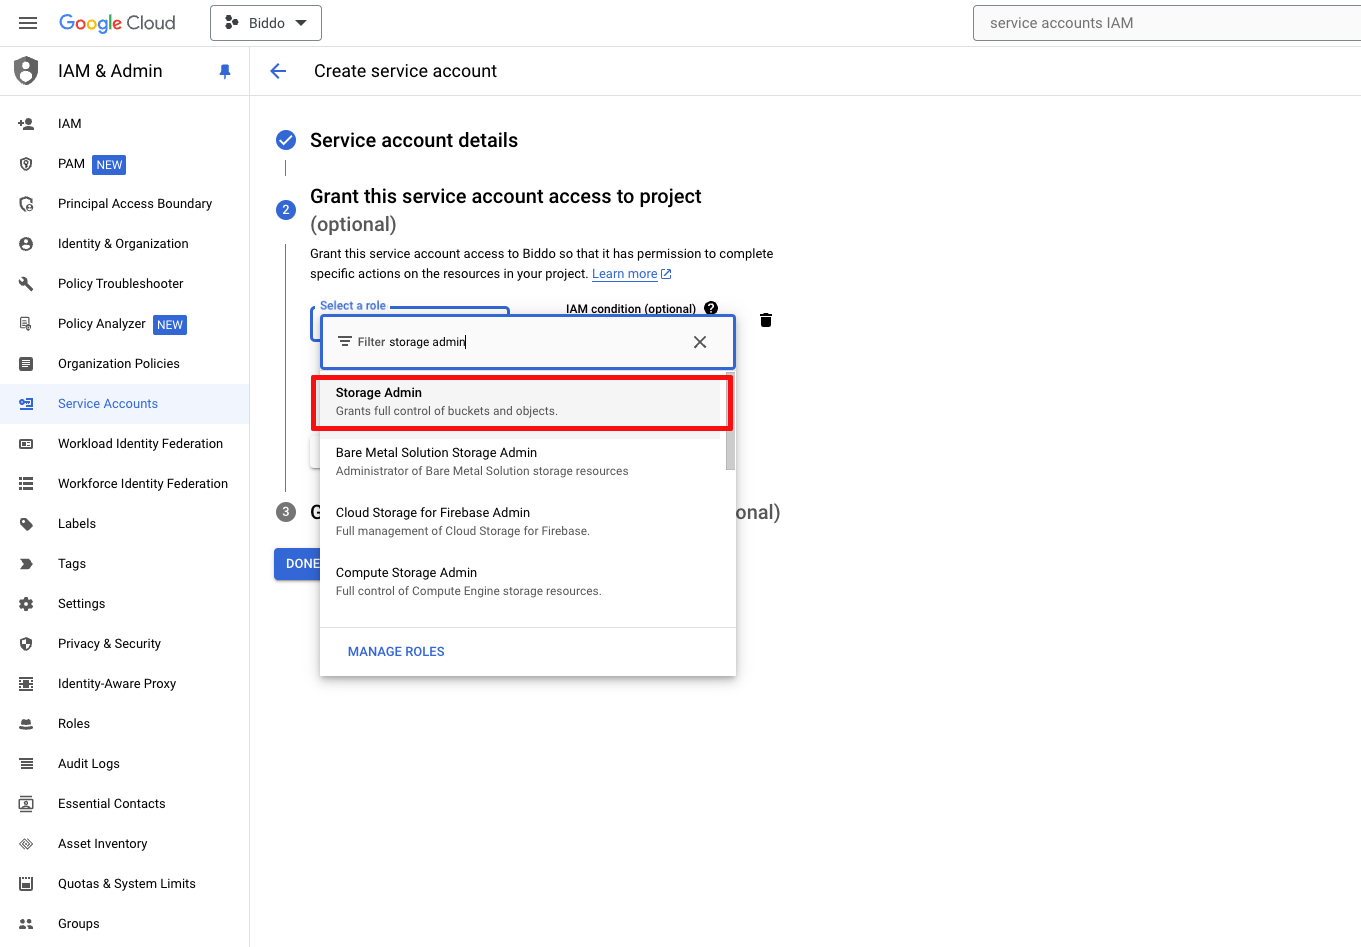
- Grant the service account the Storage Admin role and click on “Done”
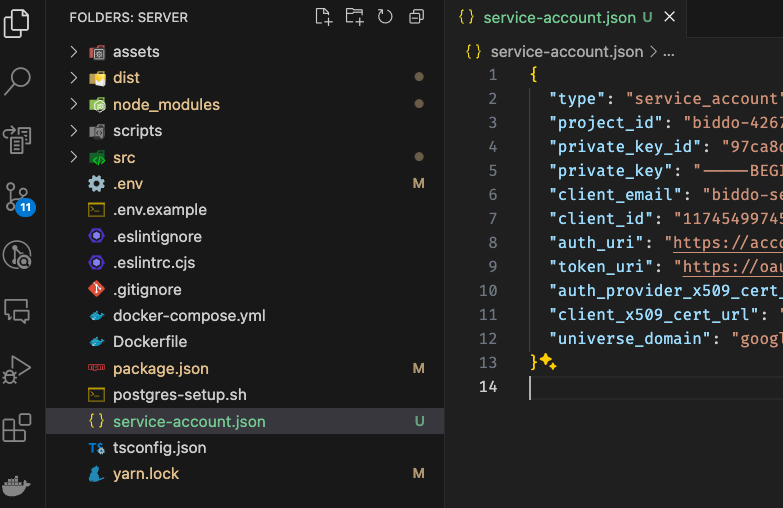
- Click on the service account you just created, got to the Keys tab and click on Add key with JSON format. This will download a JSON file with the credentials for your service account.

- Copy the content of the JSON file that was downloaded
- Create a
service-account.jsonfile in the root of the server and paste the content of the JSON file inside it
Add bucket to .env
Add name of the bucket inside the .env file in the root of the server
GCLOUD_STORAGE_BUCKET=YOUR_BUCKET_NAME